
7 Top Motorcycle Accessories
With Christmas just around the corner, you might be wondering what to get your favourite motorcycle...
It’s good to get into the habit of making some basic motorcycle checks before taking it for a ride. This will ensure both you and your bike are ready for the intended trip. Things like tyre pressure, oil levels and lights have a big impact on performance and safety.
These few basic motorcycle checks will keep you safe on the road. They’ll also ensure you don’t have to make any unplanned stops for longer journeys
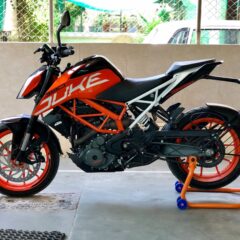
Your motorcycle’s tyres are the only points where you connect with the road. If their pressure isn’t right, it impairs their effectiveness. Checking tyres regularly is a good habit to develop. It’s one of the basic motorcycle checks that will have the greatest impact on your ride.
Motorcycle wheels come in a range of sizes. The tyre pressure specific to your bike will be different from another. If the pressure is low, your tyres will wear faster and your steering will feel heavier. If it’s too high, your bike can be unpredictable with handling. Either way, it makes it more likely for you to have an accident.
To check your tyre pressure is optimal, take these steps:
Your lights are an essential piece of safety kit on your motorcycle or moped. Depending on the kind of bike, your headlamp may have more than one bulb or filament. Whatever the case may be, the whole headlamp needs to be working.
While your motorcycle is stationary, switch it on so the electrics are working. Check the headlamp is on. Engage the indicators in each direction and check that all indicators are also working. Finally, hit the brakes and make sure the tail light glows strongly.
If any of your lights are dim or simply not working, replace them immediately.
Your fuel levels should be checked regularly. Oil can be checked less often, but should still be checked weekly.
Fuel is simple enough to check. Simply turn on your motorcycle or moped and the fuel gauge will come to life. Give it a couple of seconds and make sure you have enough for your planned trip. If you don’t figure in time to refuel as soon as possible.
Oil is a little more tricky. A light will come on when it’s dangerously low, so it’s good to be on top of your oil levels. A weekly check of oil is best. If you ride infrequently, check your oil before each journey.
Some motorcycle’s oil level is checked with a dipstick, others with a sight glass. Check your owner’s manual if you’re not sure which you have.
The engine needs to be warmed to operating temperature to give you a true reading of oil levels. So turn your motorcycle on and let it run for 3 – 5 minutes. Then turn your bike off and wait a few moments to let the oil drain down through the engine.
If your oil is checked with a dipstick, pull that out using the manufacturer’s instructions as guidance. Wipe the dipstick on a cloth or kitchen roll and reinsert it into its case. Pull it out a second time and check the oil mark is between the top marking and bottom marking. If it’s close to or below the bottom marking, it’s time to top up your oil.
If your oil is checked through a sight glass, prop your bike on its centre stand and check the oil level is between the two marks on the case. When the oil is below the bottom mark, or close to it, it’s time to top it up.
When checking your oil, it’s not just the levels that you are looking for. The colour, consistency and smell will also give you indications about your motorcycle or moped’s health. If the oil is clear amber, runs slowly and smells like oil, you’re good to roll.
If your oil looks dark or black, it needs changing. A milky white appearance can indicate coolant has mixed with the oil and your engine needs attention. If it smells like petrol or diesel, you need to take your bike in for work.
Basic motorcycle checks keep you safe on the road. Motorcycle maintenance and regular checks are easy to forget, but they’re just as important as other motorcycle security measures. They keep you and your motorcycle safe when you’re out and about.
With Christmas just around the corner, you might be wondering what to get your favourite motorcycle...
TL;DR: There’s never been a better time to join the UK’s highest-rated motorcycle training netw...
Getting a UK motorcycle licence can seem a complicated process. Particularly when compared to a dri...
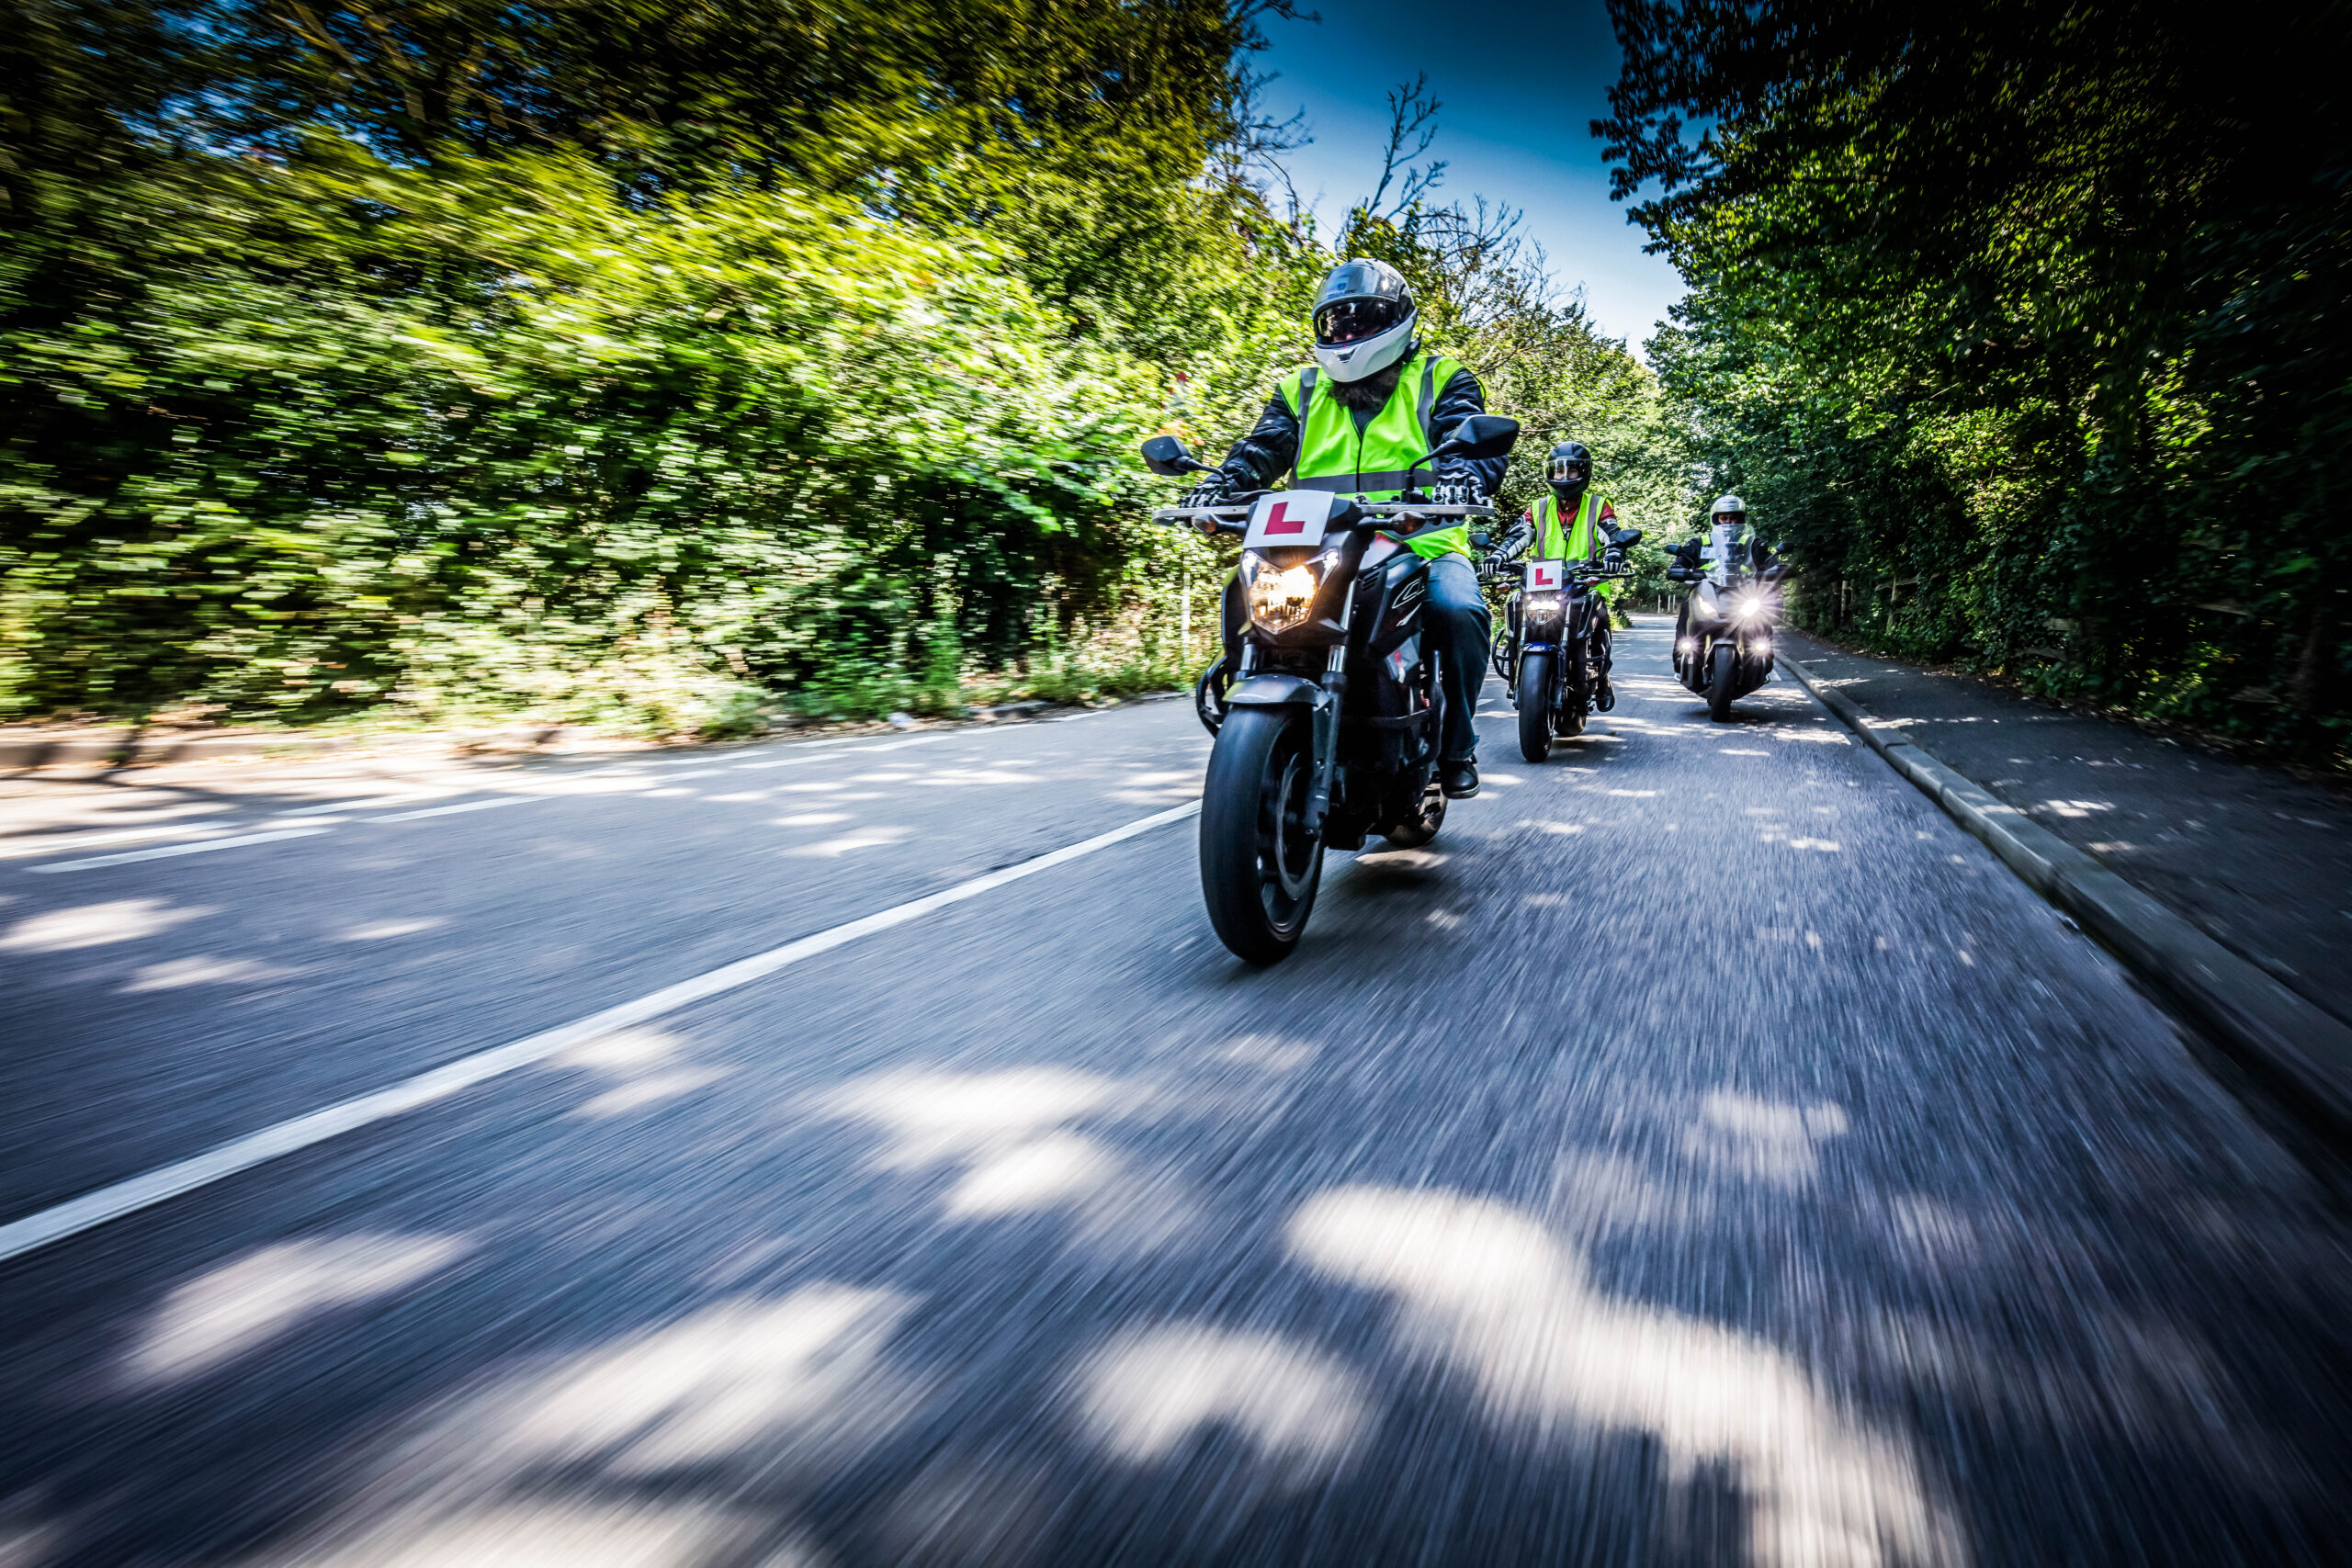
Phoenix Motorcycle Training is the UK’s highest rated and largest motorcycle training school, so wherever you’re going, we can help you get there.
This website uses cookies to personalise content, ads, and analyse traffic, sharing data with partners who may combine it with other information. See our Privacy Policy for more information.